Hey there, a few months ago i decided it would be a good idea for us to buy a caravan to renovate for family hols and long weekends away. So as i had found a great Big 4 park and booked a caravan site when we didn't own a van yet i thought i better get movin.
So after months of perusing every caravan possible i found our perfect match. We had plans to tidy it up a bit, maybe a spot of painting, new curtains, just a few minor improvements. (Ha)
 |
| Hubby & bubby |
As soon as we got it home we(me and hubby) ripped out the 35yr old stunning orangy-brown carpet, removed the curtains which were adorned in same style and started cleaning madly. Anyway before we new it we had started removing all and drawers inside to give Delilah a coat of fresh white paint and the list goes on and on and on.
Not to mention all the stuff hubby did underneath.(wheels, brakes, painted whole undercarriage and so on)
So to cut a very long story short our minor face lift became major
reno(a retro reno).
Here is some pics of our "Delilah" at the start of the makeover...


So now you have see her at her worst, its time we move on to a brighter note...
My Inspiration for Delilah's New look !
My Inspiration for Delilah's New look !
At first i wasn't sure about the new color scheme for the caravan, but then it hit me. I wanted to keep it retro, but a brighter more clourful version. I loved the colours of
my new totally retro cutlery set that i recently got from http://www.cathkidston.com/. So that was that...
my new totally retro cutlery set that i recently got from http://www.cathkidston.com/. So that was that...

So now i was off to spotlight to see what i could find.
 |
| WOW ! I actually found something at spotlight that i liked.... |
I am using the floral for the curtains, and the stripes i will be sewing up some yummy new covers for the seating on the dining booth and finishing it off with green piping. This will be my first attempt at piping
or making boxed cushion covers(or actually sewing anything at all for a long time). So i thought i would practice making something less important first...


Here's our bedhead i made using some red velour i had laying around for 10 yrs or more, i didn't have a large enough piece, so i decided to join smaller pieces together to get the quited effect which I'm quite please with. I then used the striped duck fabric to cover the buttons.


During the process i have tried to reuse anything that i could to keep the costs down.
* I removed the zippers from the ugly old dining seat area covers to use in my new ones
* I have repainted the original cutlery tray in red chalk paint i mixed up.
* We kept the original curtain tracks.

Here is the newly covered Dining seat covers of which i am pretty proud of-
 |
| I can't wait to see it in it's place in "Delilah" |
And with the money i saved REUSING i thought id better find some cute retro stuff to give
Delilah some character.
 |
| In the background- i found this cute tray in true retro style. In the foreground- the cutest set of coasters from www.rusticangels.co.uk/ Cake tray on right is from http://www.cathkidston.com/ |

 |
| Isn't this just what every mum needs to hanging their holiday home.. |
 |
| Love these stacking mugs! Sooo exciting when you find something that is totally perfect for the space,in this case "delilah's" kitchen. Canisters in background also from cath Kidston. |
Finally Delilah has a new clean white interior.
Can't say i miss the brown!
 |
| How cool is this coat rack i found on ebay. I thought this would be great opposite door as you walk into van, to hang all those bits & pieces on as you come back from the beach... |
 |
| These cute tins will be perfect full of cookies for the kids and the big Kids(hubby). Also from Rustic Angels |
 |
| I picked up this pull out sink tap for a bargain on Ebay |
 |
| Hubby plumbing up the sink |
 |
| I came up with the idea to turn the small top bunk into a cot for our little girl, when she gets bigger, we just remove the bars... Hopefully this works well!! |
Storage
Very important!!!
 |
| This is the majority of our storage space in the kitchen so i wanted to maximise its efficency by using every sq cm possible. So i ripped out(yes me not hubby) the one and only shelf , found some baskets the right size{ even though they not what i wanted due to funny sizes}and hubby put in some runners and there wella there it is.. Our pantry...  |
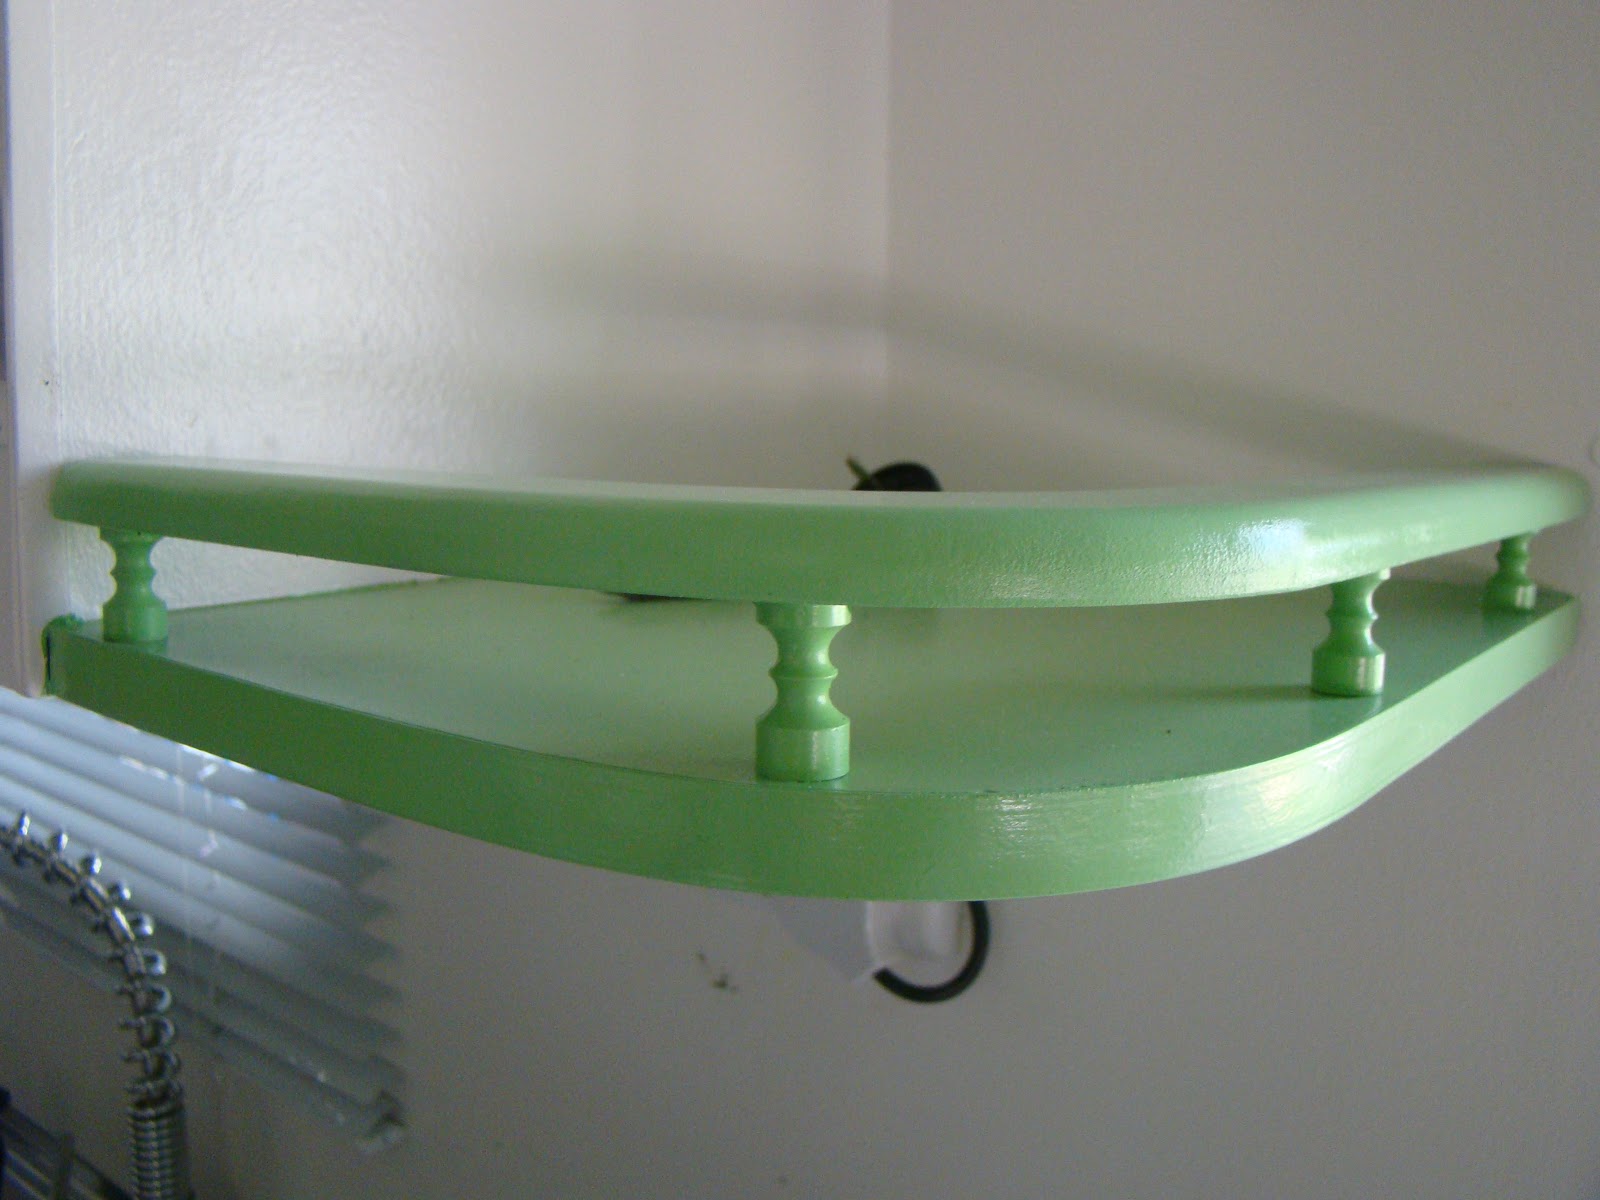 |
| Hubby gave shelves a new look |
 |
| I was going to leave the sliding glass doors the original color, which is the one on left. But one day when i was painting inside the cupboards blue, i found myself painting one side to see which i prefer? Not sure. Any thoughts |


This is my favourite alteration.
I Love it.. It was shelves which was
accessed from the other side which
is in our bedroom. A bit of a nothing
space, so i cut a oval hole in this
side which is right near dining
booth, moved shelves to suit
then but the back on. This will be
sooo handy for salt/pepper,
sauces, serviettes, cutlery, i wont even
have to get up !!!!
 |
| Hubby re-installed the original light fitttings |
 |
| The first curtains to be hung. Now were getting somewhere.. |
More Delilah's before and afters click here
Love to read your thoughts so
Please comment below...xx
Keli, this is so cool! I love Delilah!! Your ideas are gorgeous. Can't wait to see more of Delilah's transformation. I'd love to do the same one day xx
ReplyDeleteWow! I love Delilah, she puts my Bertha to shame! Thanks for visiting my Blog, I'm your newest follower and I'll pop by again soon and gets some inspiration for my retro caravan x
ReplyDeleteamazing I need to see more x
ReplyDeleteHello. I recently bought a 1980s Viscount caravan. It has bunks. I need to convert the top one to a cot for my 2 year old daughter. Would you mind telling me how you did yours and what you used? Thanks.
ReplyDeleteAmber
Today, Renovation gives you design ideas for your renovation needs; interior design, full renovations, room-specific renovations, popular renovations and even environmentally conscious designs for those who prefer to go green.
ReplyDeletetileswest
Hi Kelli, we have just begun our caravan journey and I keep finding myself returning to your site. I love your ideas and absolutely love the style you have chosen! I have stolen a number of ideas as inspiration for our planning and cannot wait to see more from you! I was also wondering where you got your awesome 'I'm on holiday, get it yourself' sign? I absolutely need one for our van ;)
ReplyDeleteThanks so much for the inspiration and motivation!
Hi, did you see the finished Delilah photos? here is the link ..
Deletehttp://retrorampage.blogspot.com.au/2013_05_01_archive.html
can you let me know if you received my replies to your comment as i dont think anyone is receiving my replies. cheers kelly
is Delilah featured in the book "my cool caravan" by any chance? I was re-reading it last night and there is a van called Delilah in the book. I was commenting to my husband how cute the van is! great work on the reno, love the final look :)
ReplyDeleteHello Keli,
ReplyDeleteI nearly fell out my caravan door when I saw your renovation! I have identical caravan to Delilah and just love what you have done. I have one (or a 100) question, what did you do with the original folding doors/dividers?